If you’re setting up a reef tank that’s larger than about 40 gallons, you’ll almost certainly hear the words “sump” and “overflow box” come up early. Here’s the short version: a sump is a secondary tank — usually hidden in your cabinet below the display — that holds your filter equipment (protein skimmer, heater, refugium, dosing lines) out of sight. An overflow box is the device that moves water from the display tank down to the sump, using gravity. A return pump then pushes the cleaned water back up. This loop is the circulatory system of a serious reef build, and getting the plumbing sized correctly is what separates a quiet, stable system from one that gurgles all night, floods your stand, or crashes your water chemistry at 2 a.m. This guide walks through how to match overflow capacity, drain line configuration, and pump output — with the math you need to make a confident decision before you cut a single hole.
Why Flow Rate Is the Number That Runs Everything
Before picking any hardware, you need one anchor figure: your target system turnover rate, usually expressed in gallons per hour (GPH). This is how many times per hour the total water volume in your display passes through the sump.
For a lightly stocked FOWLR (fish-only with live rock) system, 3–5× turnover is adequate. For a mixed reef with SPS corals (small polyp stony corals, which are sensitive to nutrient buildup), most experienced builders target 5–10× turnover through the sump — distinct from in-tank circulation, which is handled separately by powerheads.
Do the math before you buy anything:
75-gallon display × 8× turnover = 600 GPH minimum through your drain/sump loop
Add 20–25% head-loss buffer for pipe friction and vertical lift → target ~750 GPH rated pump output
Size your overflow to handle at least that flow, with a margin of at least 20%
That buffer matters. Pump ratings are measured at zero head pressure (no vertical distance, no pipe bends). Every foot of rise and every elbow in your plumbing eats capacity. Reef Builders’ published guidance on return pump selection consistently emphasizes calculating head loss before choosing a pump model, not after.
Overflow Boxes: Internal vs. External, and the Drain Configurations That Matter
Internal (built-in) overflows
If you’re buying a tank purpose-built for reef keeping — an ADA 120-P, a Red Sea Reefer series, an Innovative Marine tank with a built-in overflow chamber — the overflow is already designed into the tank. The manufacturer has sized the bulkhead (the threaded fitting through the glass) and overflow box for a rated GPH range. Respect that rating. Owners across the Reef2Reef community repeatedly report that running a return pump above the overflow’s rated capacity creates a situation where the sump drains faster than the overflow feeds it — leading to a flooded stand when the pump is shut off and water siphons back.
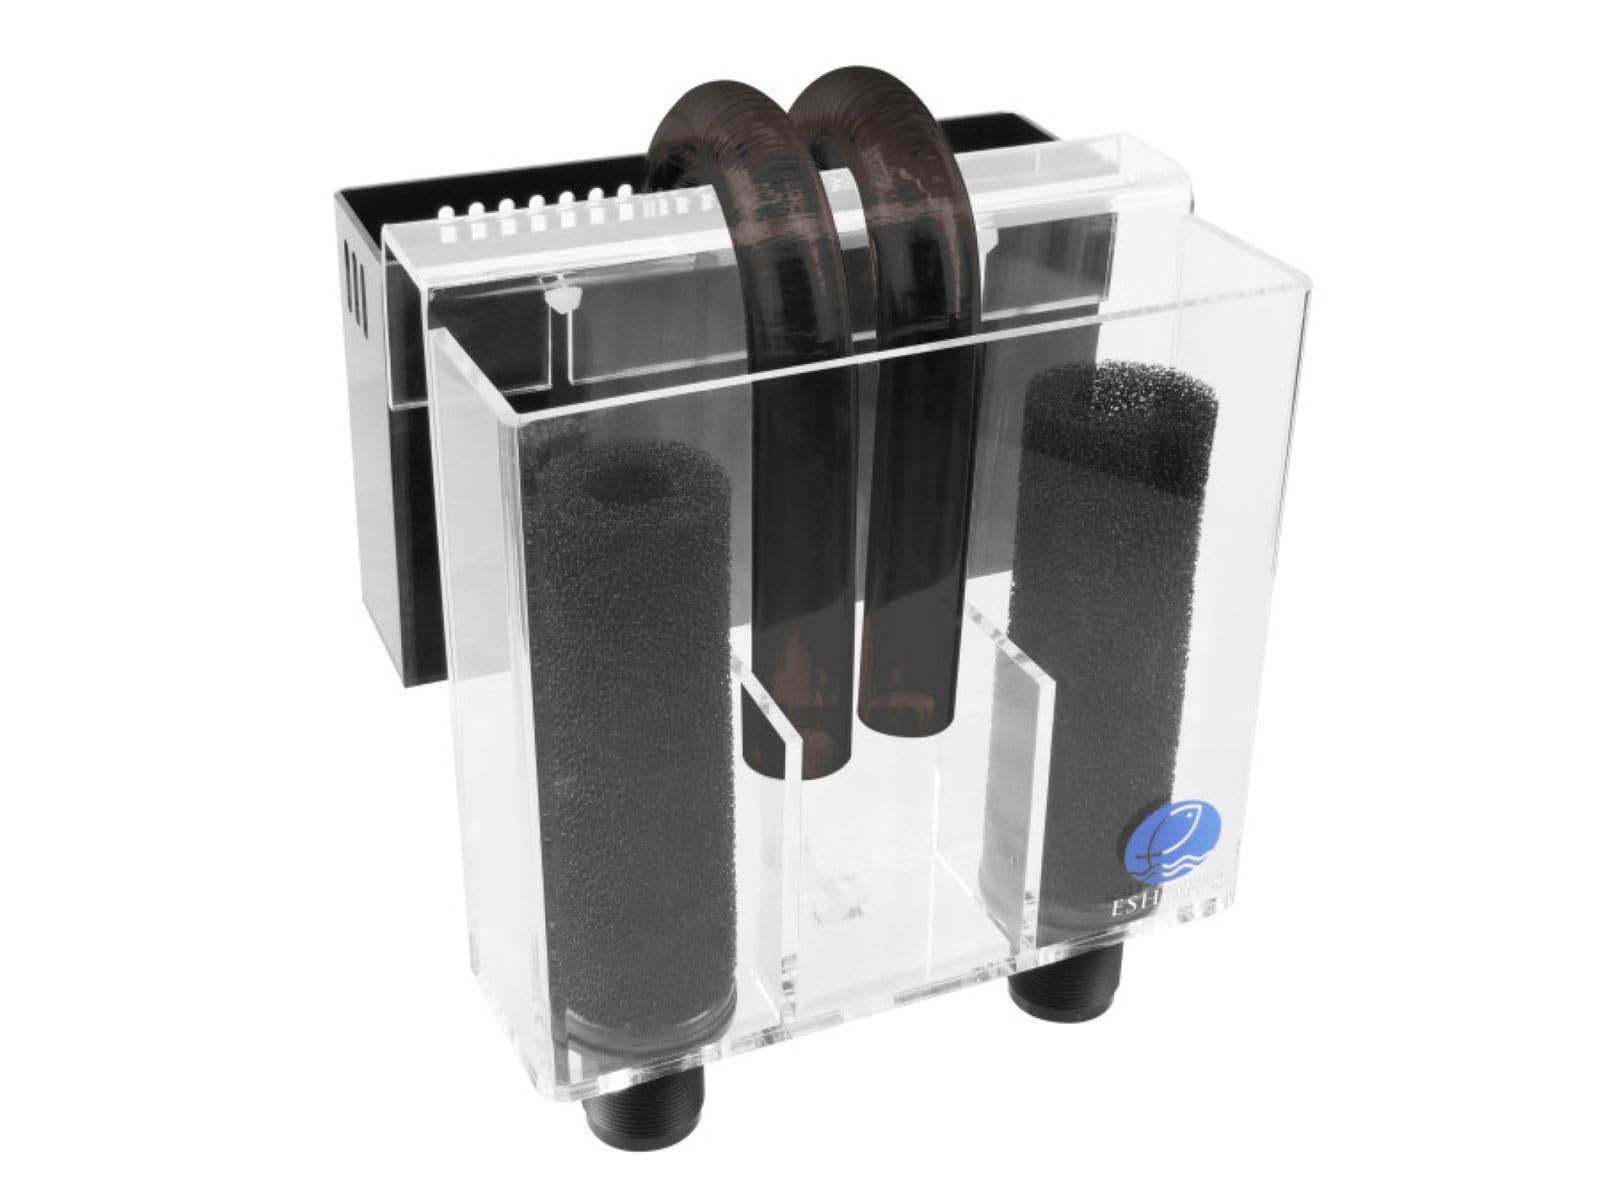
HOB (hang-on-back) overflow boxes
For drilled-tank upgrades or acrylic tanks where you don’t want to drill, HOB overflows use a U-tube siphon to pull water over the rim. The CPR Aquatics AquaFuge and Eshopps HOB series are frequently cited examples at the enthusiast tier. These work, but the tradeoff is real: siphon-based overflows can lose prime during a power outage or if a bubble interrupts the U-tube. Most experienced builders using HOB overflows add an Aqualifter pump (a small air-removal pump rated around 3–4 GPH) to continuously evacuate bubbles and maintain siphon — a workaround that’s become close to standard practice per Advanced Aquarist’s plumbing reference series.
The drain configuration is as important as the overflow size
This is where a lot of intermediate builders get caught. There are three main drain configurations:
Single drain (basic): One bulkhead, one pipe to the sump. Simple to install, but one failure point — and if that drain gets partially clogged or airlocks, water rises until it overflows the tank. Not recommended for systems over ~40 gallons.
Herbie method (dual drain): Two bulkheads. One drain runs as a full siphon (submerged at both ends, nearly silent), carrying most of the flow. The second drain is the emergency overflow — it sits higher in the overflow box and only activates if the primary drain can’t keep up. The result is near-silent operation and a built-in safety net. Advanced Aquarist’s plumbing guide calls this the “practical sweet spot for most home reef builders.”
Bean Animal (triple drain): Three bulkheads — a full-siphon primary, an open-channel secondary, and a high emergency drain. This is the gold standard for large reef systems (150+ gallons), systems running 800+ GPH, or any build where noise is a design constraint (commercial displays, open-plan living spaces). The added complexity is justified by near-zero gurgle and redundancy. For a hotel lobby reef or a feature-wall installation, the Bean Animal configuration is essentially the expected spec.
Sizing the Sump and Matching Your Return Pump
Sump volume and chamber design
A common rule of thumb: your sump should hold 15–25% of your total system water volume. On a 100-gallon display, that’s a 15–25 gallon sump minimum — but more is almost always better. Larger sump volume means more stable temperature, more stable alkalinity, and more dilution buffer when a dosing pump misfires.
Chamber layout matters. A standard three-chamber sump runs: skimmer section → refugium or media reactor bay → return pump section. The baffles between sections should be sized so the water level in each chamber is independent. If your skimmer section and return section share the same water level, a fluctuating display tank level will make your return pump cavitate (run dry momentarily) — something owners of undersized sumps report as a persistent noise and wear issue.
Return pump selection
| System Size | Target GPH (at head) | Common Pump Tier |
|---|---|---|
| Nano–40 gal | 200–400 GPH | Sicce Syncra Silent 1.5, Cobalt MJ-1200 |
| Mid-size 75–120 gal | 600–900 GPH | Reef Octopus VarioS 4, Ecotech Vectra S2 |
| Large 150–300 gal | 1,000–2,000 GPH | Ecotech Vectra M2, Abyzz A100, Reef Octopus VarioS 8 |
DC (variable-speed) return pumps have become the standard recommendation at the intermediate tier and above. The ability to dial flow rate precisely — and ramp down during feeding or top-off cycles — is worth the premium over fixed-speed AC pumps. Reef Builders’ return pump coverage consistently notes that variable-speed DC pumps also allow you to tune out micro-bubble issues after initial setup by reducing pump speed until the sump’s bubble trap settles.
Head loss calculation, simplified:
- Every vertical foot of lift = approximately 1 foot of head
- Every 90° elbow = approximately 0.5–1 foot of head equivalent
- Every 10 feet of horizontal pipe = approximately 1 foot of head
So a return pump pushing water 5 feet up, through 2 elbows, across 6 feet of horizontal run faces roughly 7–8 feet of total head. Check the pump’s published head-loss curve (available on manufacturer spec sheets for all the brands listed above) and read your target GPH off that curve — not the “max flow” headline number.
The Decision Frame: Which Configuration Is Right for Your Build?
Here’s where the “if X, then Y” logic pays off.
If your tank is 40 gallons or under and pre-drilled with a single bulkhead: Run a single drain with an Herbie-style gate valve on the drain line to tune noise, and match a DC return pump to your actual head-loss curve. Keep it simple — the complexity of Bean Animal plumbing doesn’t pay off at this scale.
If your tank is 75–120 gallons and drilled (or you’re drilling it): Herbie method is the right call. Two bulkheads, a full-siphon primary drain sized for at least 120% of your target GPH, an emergency drain set 1 inch higher in the overflow box. Pair with a variable-speed DC return pump. This is the configuration that Practical Fishkeeping describes as the practical standard for home reef systems in this size range.
If your tank is 150 gallons or above, or is a commercial/display installation: Bean Animal. Full stop. Three bulkheads, three drain lines, gate valves on the full-siphon and open-channel drains. The added plumbing cost (usually $40–$80 in PVC fittings) is trivial against the risk profile of a high-volume system. At this scale, Coral Magazine’s sump design coverage consistently recommends the Bean Animal specifically because the emergency redundancy is meaningful — a single point of failure at 1,500 GPH is a catastrophic flood event, not a minor problem.
If you’re running a HOB overflow because drilling isn’t an option: Accept the tradeoff, add an Aqualifter pump to maintain prime, and deliberately size your return pump at the low end of your turnover target. Running a HOB at max rated capacity leaves no safety margin if prime is lost. Keep your rated pump output at 80% or less of the overflow box’s published GPH rating.
A Few Things That Don’t Show Up in the Spec Sheet
Noise is real. A Herbie drain that’s not properly tuned with gate valves will gurgle continuously. The fix — slowly closing the gate valve on the full-siphon drain until gurgling stops — is well-documented in the Reef2Reef community reference threads, but it takes 15–30 minutes of patient adjustment at initial setup. Budget time for it.
Microbubbles from the return pump section entering the display can irritate coral tissue. A bubble trap (a series of baffles in the sump’s return section that force water under, then over, barriers) is worth including in any custom sump build. It’s not glamorous, but owners of custom sumps with well-designed bubble traps consistently report cleaner displays.
Finally: match your gate valves to your drain pipe diameter exactly. Using a 1-inch gate valve on a 1.5-inch drain line is a friction-loss problem waiting to cause a noise issue. This sounds obvious, but it’s a surprisingly common specification error in first sump builds.
Get the plumbing right, and everything downstream — your skimmer performance, your refugium flow, your water chemistry stability — gets easier. The overflow box and return pump aren’t the exciting parts of a reef build. But they’re the parts that determine whether you’re debugging floods at midnight or watching coral grow.